


My husband and I have been together for nearly thirty years, and he’s had to learn to eat many new foods, like shell-on, head-on salt and pepper shrimp. The shrimp used for that dish have thin shells so they’re made for chewing and easy swallowing. He gets tired of eating them after a while (it’s too much work!), and he always hands over the heads for me to chomp on.
Frankly, the regular salt and pepper shrimp have never been quite as flavorful as I expect them to me. The flesh never gets the seasonings because it is enclosed in its shell during cooking. The other day, it occurred to me that I may be better off with headless shrimp that are bigger, with thicker shells. Plus, I also wondered if I could make an unfussy air-fried salt and pepper shrimp.
I had my revelation at Costco’s seafood roadshow. It was before Valentine’s Day so there was a pile of shrimp on sale alongside the prime steaks. The shrimp were well priced and giant - roughly 15 per pound and about $10 per pound. I purchased a pound and went home to experiment.
Conventional vs Air-Fried Salt and Pepper Shrimp
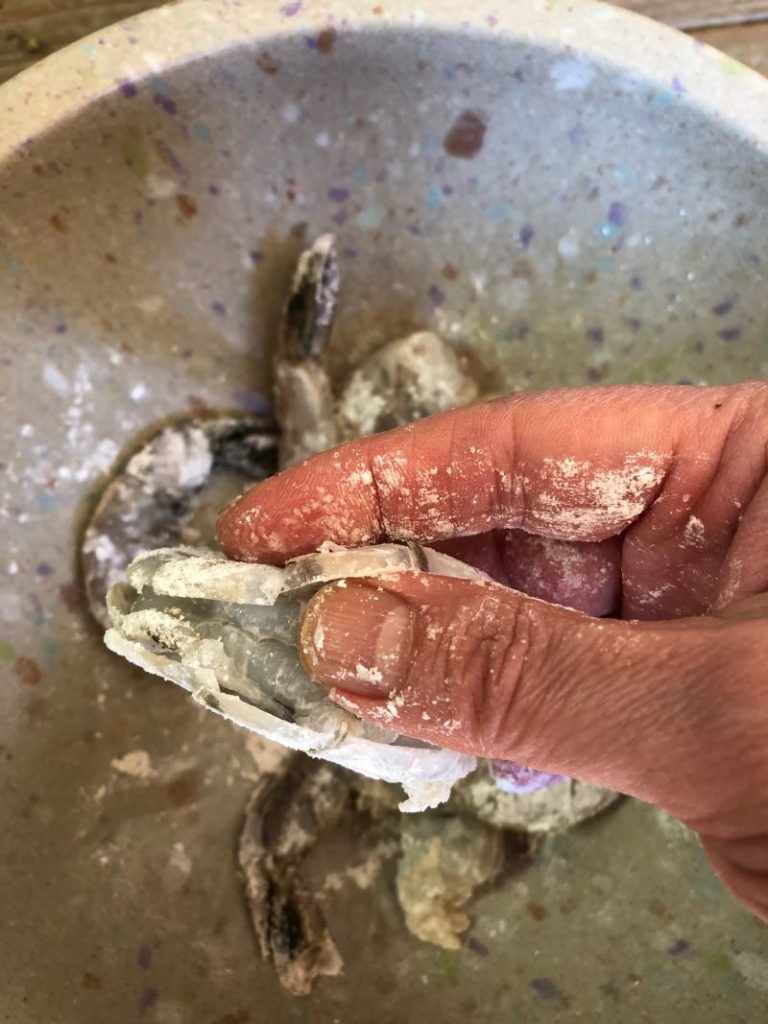
The regular method for making salt and pepper shrimp (a regular on Chinese restaurant menus and at dim sum) is to coat the shrimp with a seasoned starch mixture, then shallow fry them to crisp, and finally to finish them in a hot wok with garlic and chiles. I’ve seared and shallow-fried the shrimp before, but because the giant shrimp that I bought had thick shells, I figured that I could also air-fry them without drying the shrimp out too much. Air-frying is tricky for delicate proteins so you want to protect them from the hot heat blast.
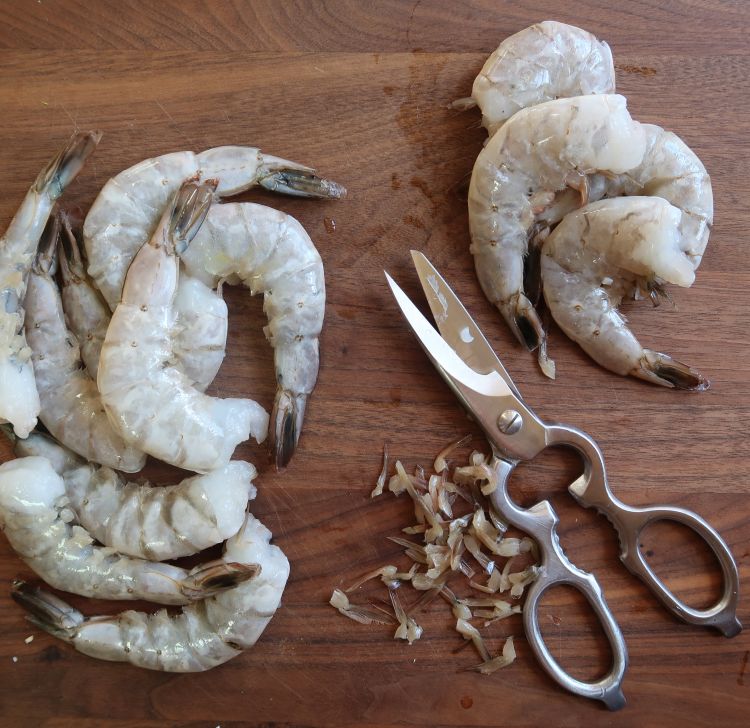
The giant shrimp were also pre-deveined and slit through the back, which got me thinking that I could also rub the seasonings onto the flesh underneath the shell. If your shrimp aren't already deveined, use scissors to do the deed. I also like to trim the feet for a handsome look and less ticklish eating. (The recipe instructions reflect shrimp that haven't been deveined.)
There’s a certain level of stress involved in frying the shrimp for the conventional method. You have to wash the pan between cooking processes and sometimes the shrimp gets a little soggy as they sit and therefore, lose some of their crispness.
With the air-fryer, half of the cooking action happens in the machine and you’re just flipping the shrimp. The downside is you have to monitor the shrimp through the air-fryer window. I set a timer too.
A little hiccup
This will be obvious but I didn’t anticipate it - the air-fryer holds only so much. I like the Cuisinart toaster oven air-fryer because it has a large-ish capacity compared to other popular models. I thought I’d have no problem with a pound of shrimp; I’ve cooked a pound of other kinds of meats in the machine. But the shrimp shape makes it so you have to air-fry in two batches if you’re using the Cuisinart and cooking a pound for 4 people.
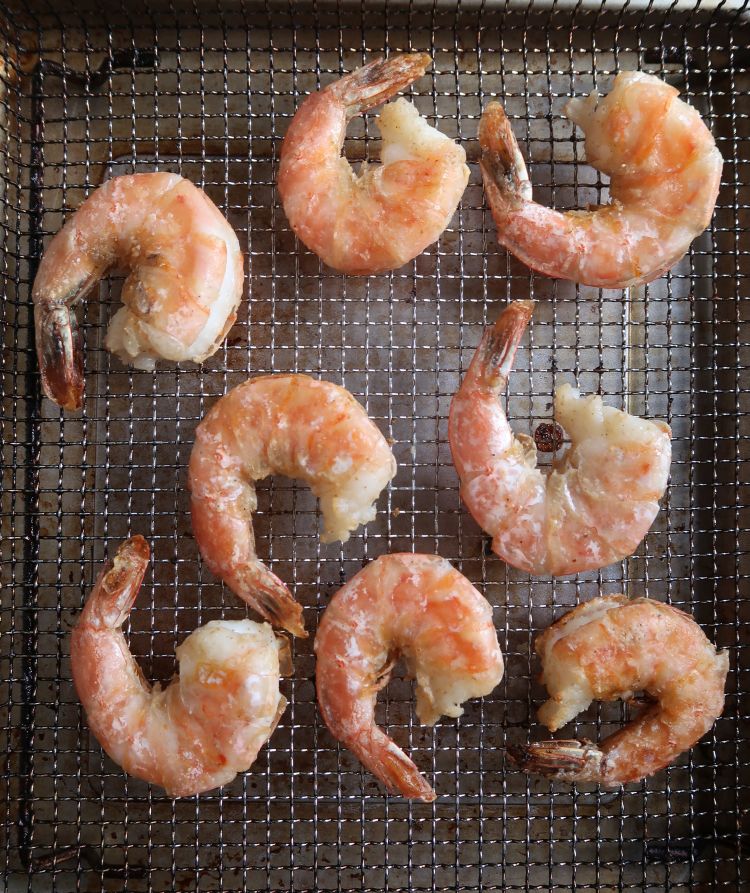
I can probably cook a couple more in this batch but not much more. Most air-fryers are small and ideally, you want air circulation around the shrimp so they cook up fast.
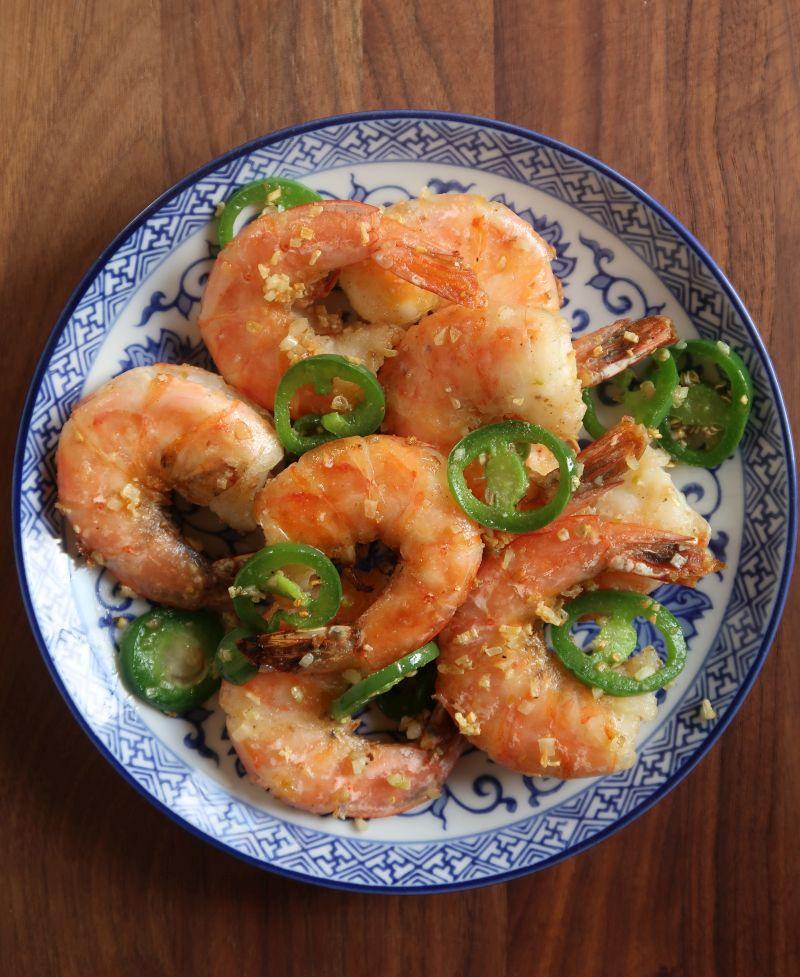
But once the shrimp are cooked - about 3 ½ minutes total in the air-fryer, they sit to cool and crisp. While they’re still warm, I heated up the oil, cooked off the garlic and chile and add the shrimp. The dish was done with less hassle than usual.
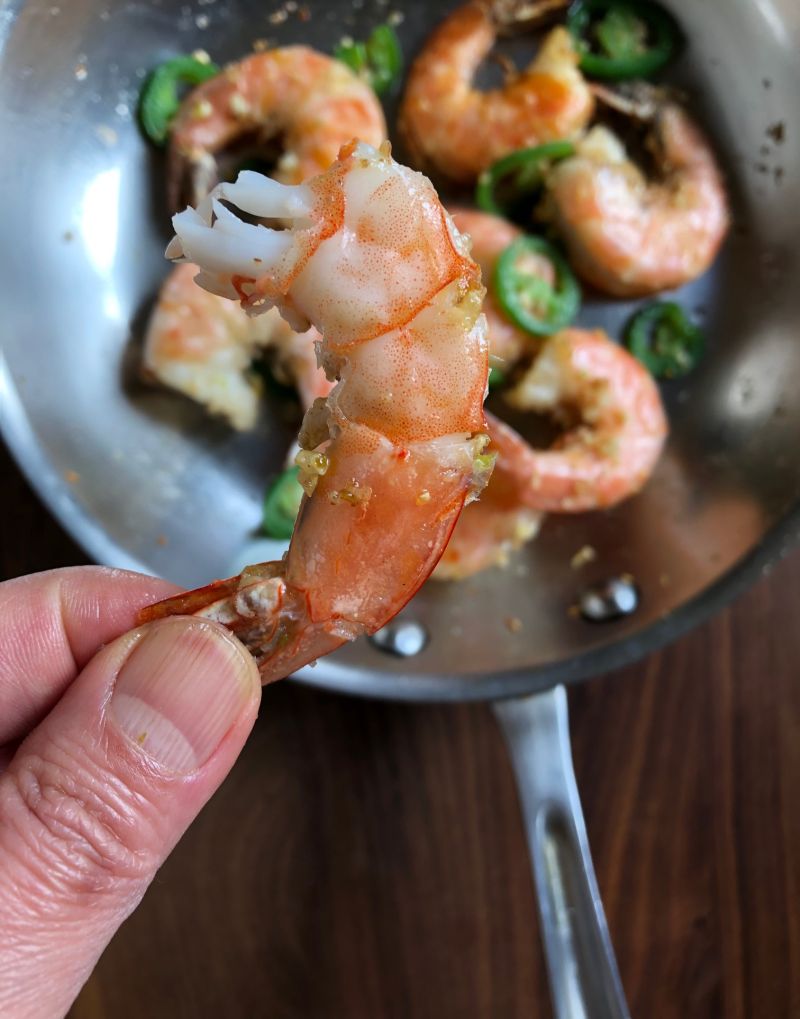
The texture and flavor were great because I got the seasonings onto the flesh. The shells imparted flavor onto the flesh as the shrimp cooked. When we tried the shrimp, I told my husband, “Don’t chew the shells, just suck on them for flavor then peel them off.” He adored them and said they were much much better than what we typically get at restaurants.
That's a winner to me!
P.S. Another fun recipe to try is the Air-Fried Japanese Fried Chicken.
